Nano Banana 2.1 AI Image Generator
Create product visuals, campaign concepts and illustrations from prompts or reference images in the Nano Banana 2.1 workspace.
Start with a description
Describe your subject, composition and lighting to turn a brief into an image.
Work from a reference
Give an available editing model an image and clear instructions for what to change.
Refine the direction
Compare results, change one detail and build a more useful visual for your project.
Write your image brief below. Choose from the available models to generate a new image or work with a reference.
Choose Model
Workflow
0/20000 characters
Results
What is the Nano Banana 2.1 generator?
The Nano Banana 2.1 AI Image Generator is an online image creation workspace for turning a written brief or a reference image into visual concepts. Use it to plan product photography, explore an illustration style, prepare a campaign image or test a new composition before assembling your final design.
Define the image's purpose and the details to keep consistent. Use the Nano Banana input guide to choose text or references, then check the controls available for the selected model.
More control over your image brief
Use the Nano Banana 2.1 AI Image Generator workspace to make the subject, framing and intended outcome clear. Build your image around a few deliberate decisions.
Nano Banana 2.1: Text-to-image creation
Write the scene in ordinary language: a subject, an environment and a visual treatment. For product images, specify the camera angle, materials and background. For illustrations, describe the line style, palette and atmosphere. A focused brief is easier to refine than a long list of unrelated adjectives.
Nano Banana 2.1: Reference image editing
When an available model supports image-to-image, upload a reference and name the changes you need. Ask to replace the background, adjust the lighting or explore a different setting. Also identify the details to preserve, such as the silhouette, clothing, product color or camera position.
Nano Banana 2.1: Composition for your destination
Choose an aspect ratio that suits the final placement. A square product tile, a vertical social post and a wide website banner need different framing. Request negative space where a headline will sit, and keep essential details away from the edges if the design will be cropped.
Nano Banana 2.1: Model and setting selection
The Nano Banana 2.1 AI Image Generator uses the site's shared model workspace. Compare the listed options and check their controls before generating. Reference limits, output sizes, available modes and credit costs depend on the model and settings you select.
Nano Banana 2.1: Focused iteration and review
Keep a promising composition and change one variable at a time, such as lighting, color or the background. Review the result at its intended display size. Check edges, small objects, written text and reference details before downloading a visual for the next stage of your design.
Image ideas for real projects with Nano Banana 2.1 AI Image Generator
These visual concepts show four ways to frame a creative brief. Adapt the subject and constraints to your own product, audience and publishing format.

Nano Banana 2.1: Product photography and ecommerce
Build a clean product scene with a named surface, camera angle and lighting direction. When working from an existing product photo, describe the packaging, shape and colors that must remain. Create a few scene directions, then compare how clearly the product reads at thumbnail size.
Explore Nano Banana 2 for product images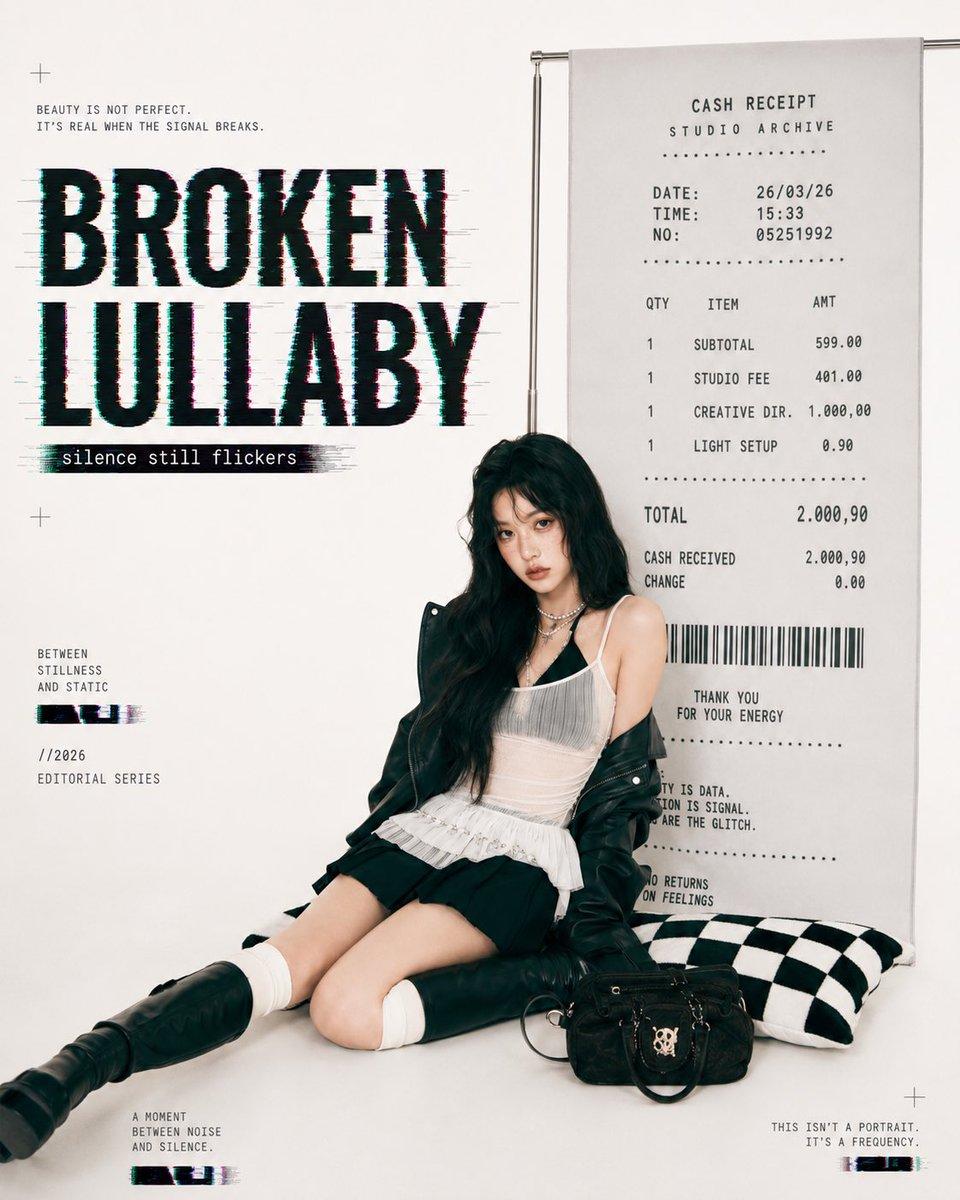
Nano Banana 2.1: Campaigns, posters and social creatives
Define the audience, the main visual and the area reserved for copy. For a campaign series, repeat the same palette and composition rules across briefs. If your concept includes words, specify the exact wording and its placement, then proofread the rendered text before using the image.
Explore Qwen Image 3.0 for visual layouts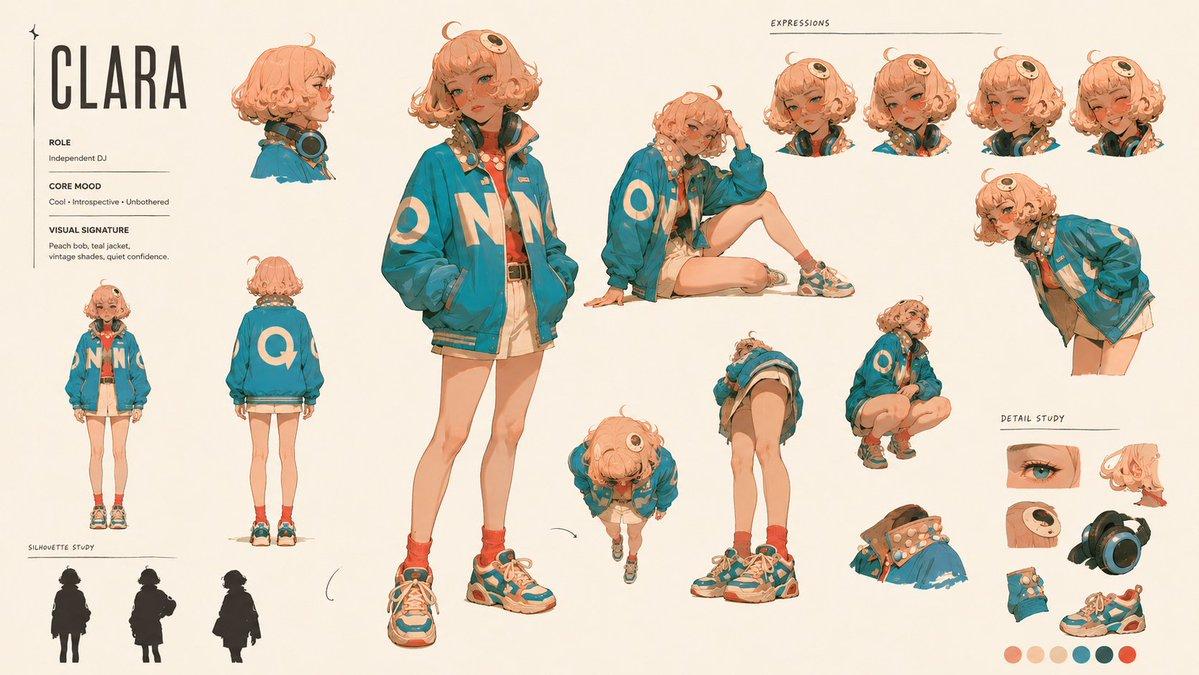
Characters and illustrated stories
Describe the character's distinguishing features, clothing and the world around them. Use a reference when supported to communicate the details you want to retain. Compare poses and backgrounds while keeping the character brief stable, and review each image for visual continuity.
Explore GPT Image 2.5 for creative concepts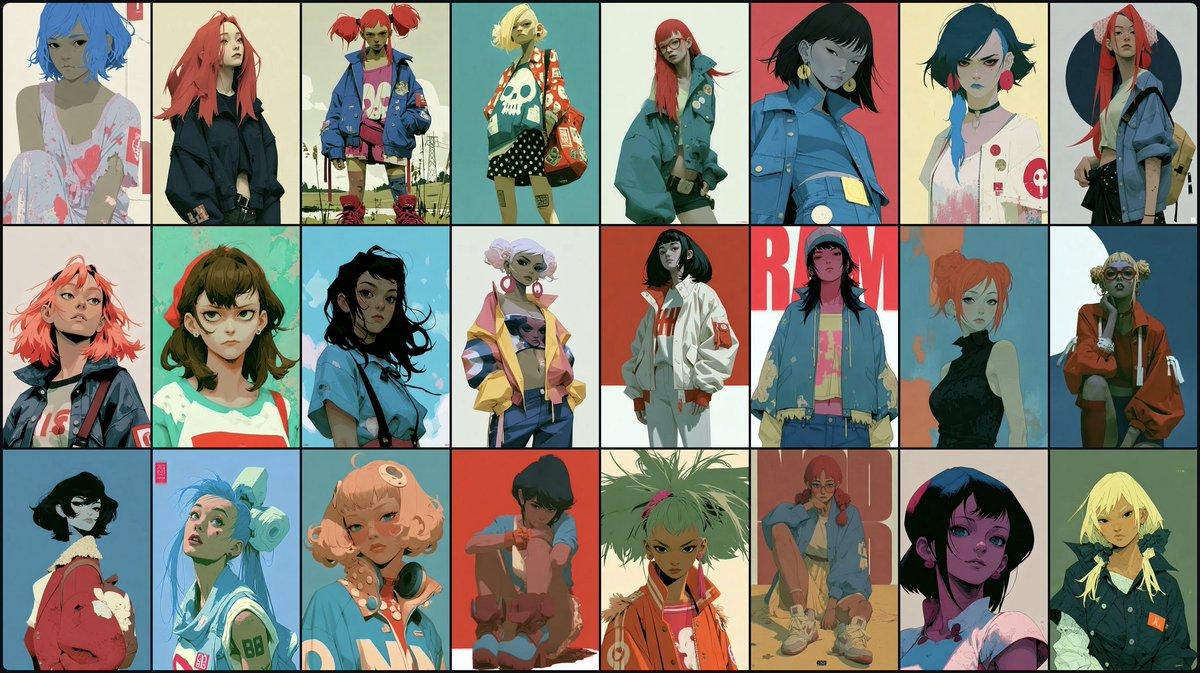
Art direction and visual exploration
Use the Nano Banana 2.1 AI Image Generator workspace to test mood, materials and color before committing to a direction. Write separate briefs for an editorial photograph, an illustration or a staged product scene. Comparing these directions is more useful than changing every detail in a single prompt.
Explore Seedream 5.0 Flash workflowsPrompt examples to adapt in Nano Banana 2.1 AI Image Generator
Give the generator a visual brief it can act on. These examples describe the image itself, then add practical constraints for the final layout.
Nano Banana 2.1: Studio product image
For a product page, campaign draft or a clean ecommerce visual.
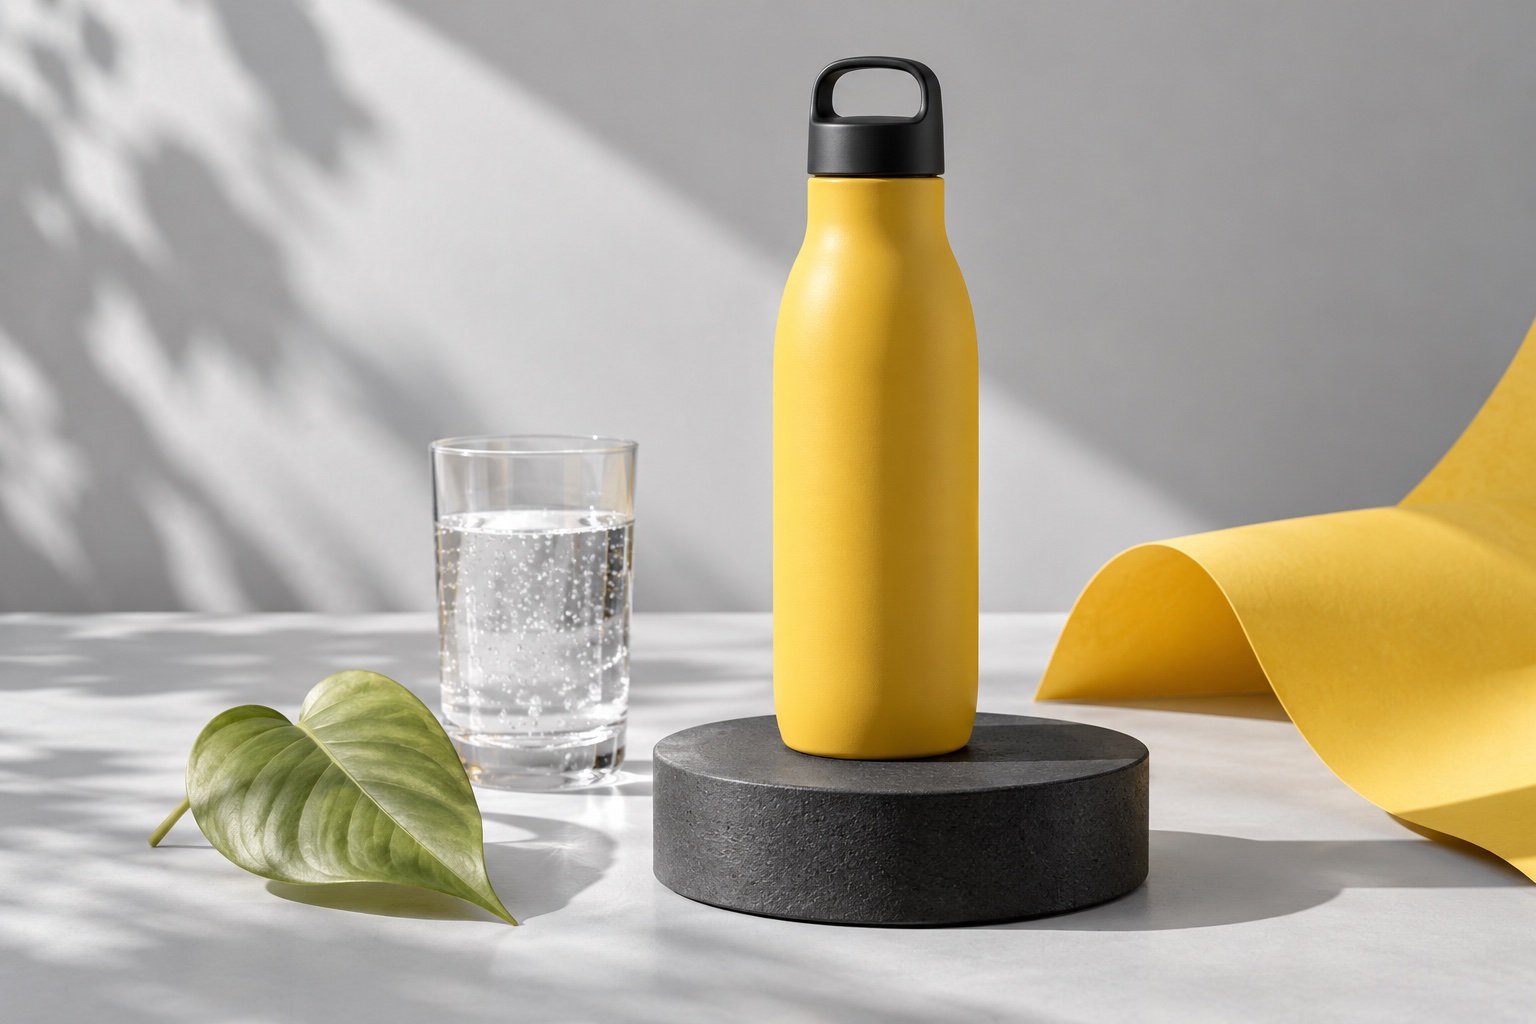
Create a studio product photograph of a matte yellow reusable water bottle with a black cap on a low charcoal pedestal. Use a pale gray background, soft light from the left and a realistic shadow. Show the complete bottle in a three-quarter view. Keep the materials natural, leave empty space on the right for a headline and add no text or extra logos.
Refine it: name your product's material and camera angle. With a reference, explain which shape and packaging details must stay the same.
Nano Banana 2.1: Campaign poster concept
For a visual direction with a clear subject and room for design copy.
Create a vertical editorial campaign image of a cyclist beside a red bicycle on a quiet coastal road at sunrise. Use warm side lighting, a restrained blue and coral palette and realistic photography. Place the subject in the lower two-thirds of the frame. Keep the upper area uncluttered for a headline, show the complete bicycle and add no written text.
Refine it: set the aspect ratio for your placement. Add final typography in your design tool, or use a supported model and check every word.
Nano Banana 2.1: Reference-guided scene edit
For changing a setting while making the preservation instructions explicit.
Use the uploaded product photograph as the reference. Keep the product's shape, color, label and camera angle as close to the reference as possible. Replace the background with a sunlit kitchen counter made of pale stone. Add a soft natural shadow and a small green plant in the distance. Keep the product as the focal point and avoid extra objects touching it.
Refine it: list what can change and what should remain. Start with a single scene change, then inspect the product details before another edit.
How to use the Nano Banana 2.1 AI Image Generator
Move from a short brief to a reviewed result with this four-step image generation workflow.
- 1
Nano Banana 2.1: Choose a model and creation mode
Open the generator and choose an available model. Use text-to-image to start a fresh concept, or an available image-to-image mode for a reference-based edit. Check the model's settings and displayed credit cost before generating.
- 2
Nano Banana 2.1: Write the subject and constraints
Describe the subject, environment, framing and lighting. Add a few essential constraints, such as an uncluttered background or space for copy. If you upload a reference, say which features should stay and which parts may change.
- 3
Nano Banana 2.1: Set the format and generate
Select an available aspect ratio and output setting that fit your destination. Submit the brief using the generator. Keep your first request focused so you can identify which changes to make after seeing the initial image.
- 4
Nano Banana 2.1: Inspect, refine and download
Review the image for composition, small details and any text. Adjust one part of the prompt rather than rewriting everything at once. Download a result once it fits your brief, then crop or add final typography in your design workflow.
Choose an image model for your workflow
Use these model pages alongside the Nano Banana 2.1 AI Image Generator guide. Compare the controls and examples for your task, then test the same brief with the options available in the generator.
| Model guide | What to explore | What to check |
|---|---|---|
| Nano Banana 2 | What to exploreText-to-image and reference-guided image creation. | What to checkCheck the selected mode, reference inputs and available image settings. |
| Nano Banana Pro 2 | What to exploreProduct, campaign and detailed visual briefs. | What to checkCompare composition and important details using the same product brief. |
| Nano Banana 2 Lite | What to exploreA separate Lite model workflow for image concepts. | What to checkReview its available controls and displayed cost for your intended output. |
| GPT Image 2.5 | What to exploreCreative image concepts and reference editing workflows. | What to checkInspect the selected variant and how it follows your visual instructions. |
| Seedream 5.0 Flash | What to exploreImage generation, scene exploration and editing. | What to checkReview the supported modes, aspect ratios and output settings. |
Bring your next image brief to life
Start in the Nano Banana 2.1 AI Image Generator workspace with one clear subject, a useful reference and a format that fits your project.